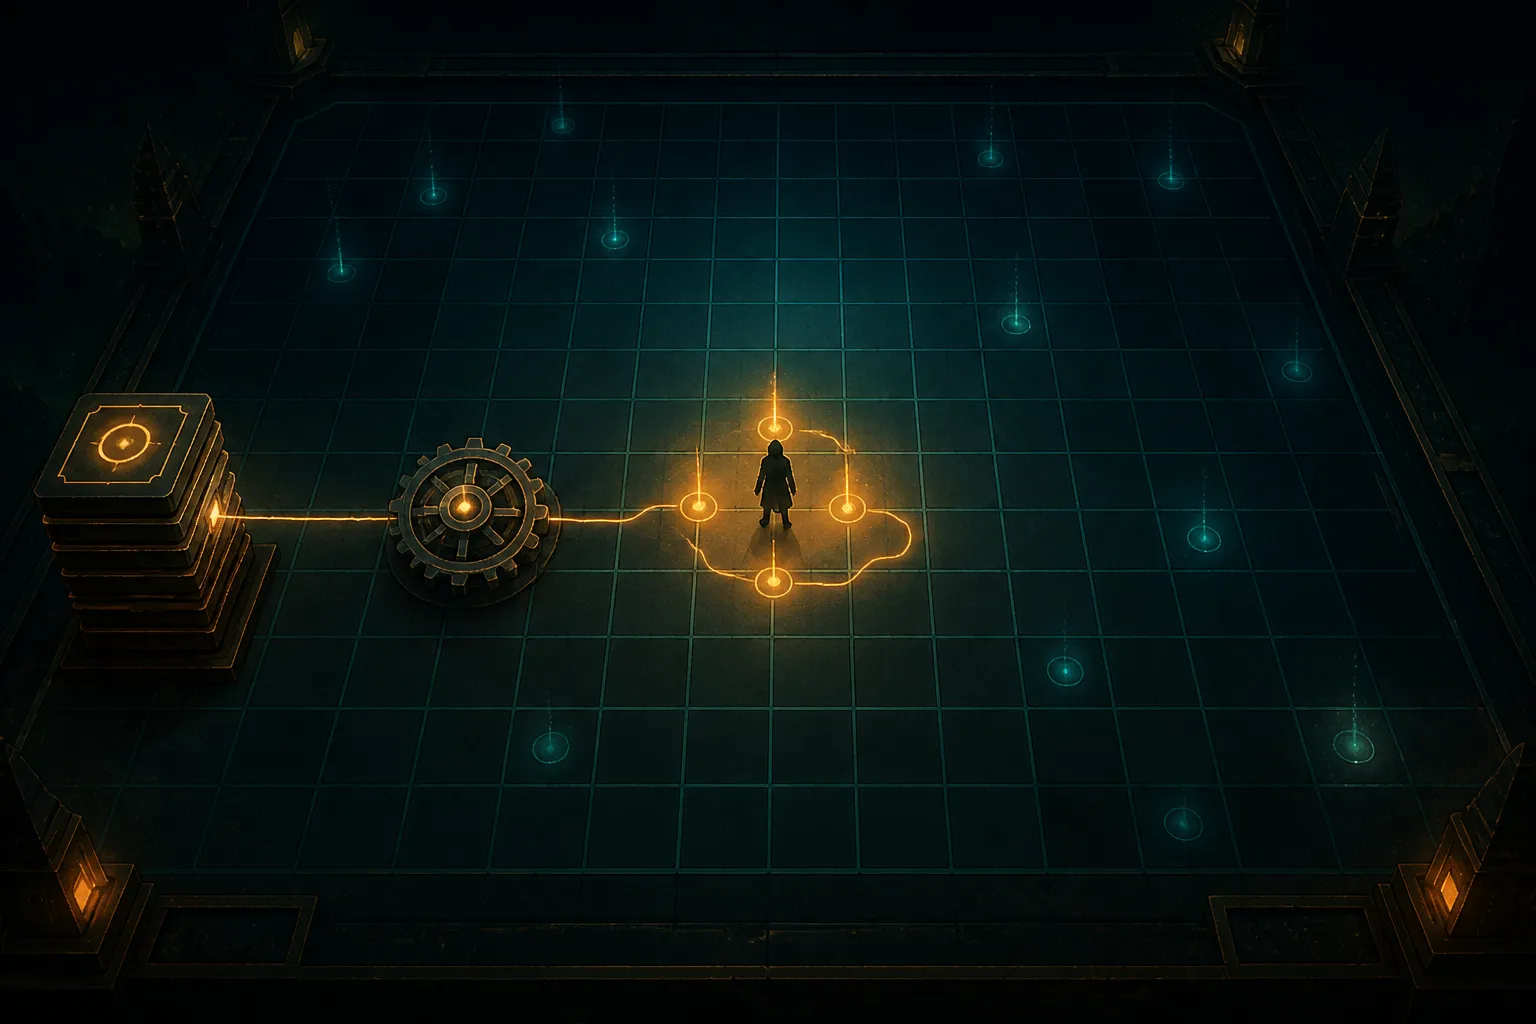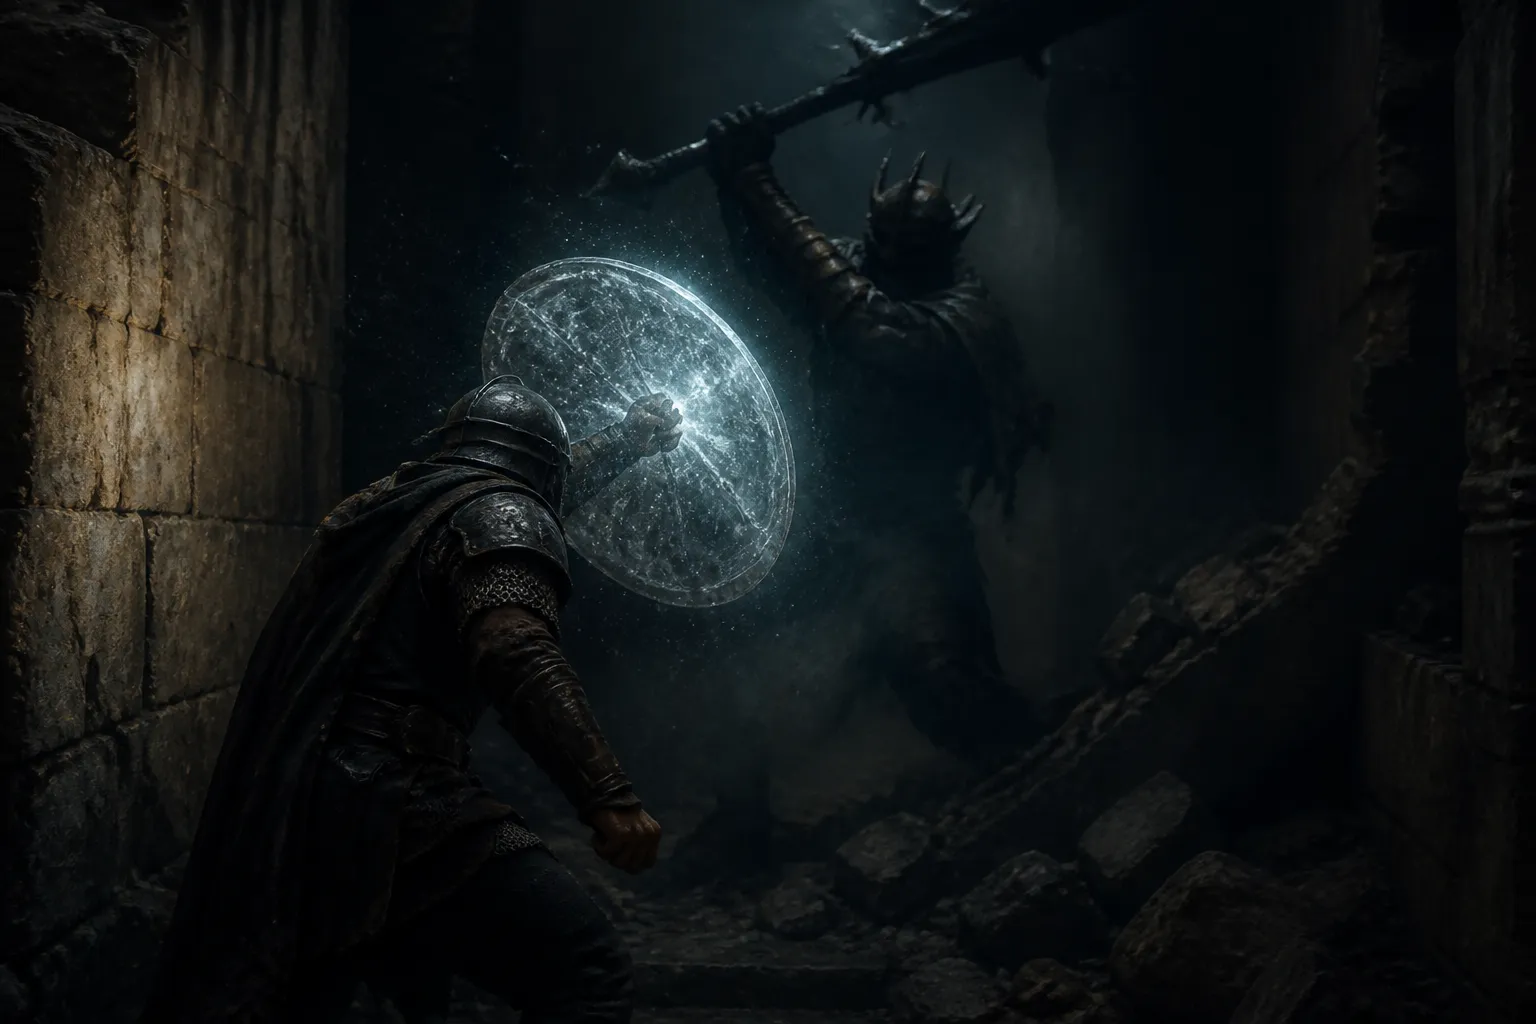
The exit is gone and the attack is already moving. Your shield has a limit, and you cannot tell how much is left. That is the moment this guide is about. No single game is named here. The documented shield rules in Smash, Rivals of Aether II and Salt and Sanctuary all point to the same habit: know what your shield cannot stop before you spend it.
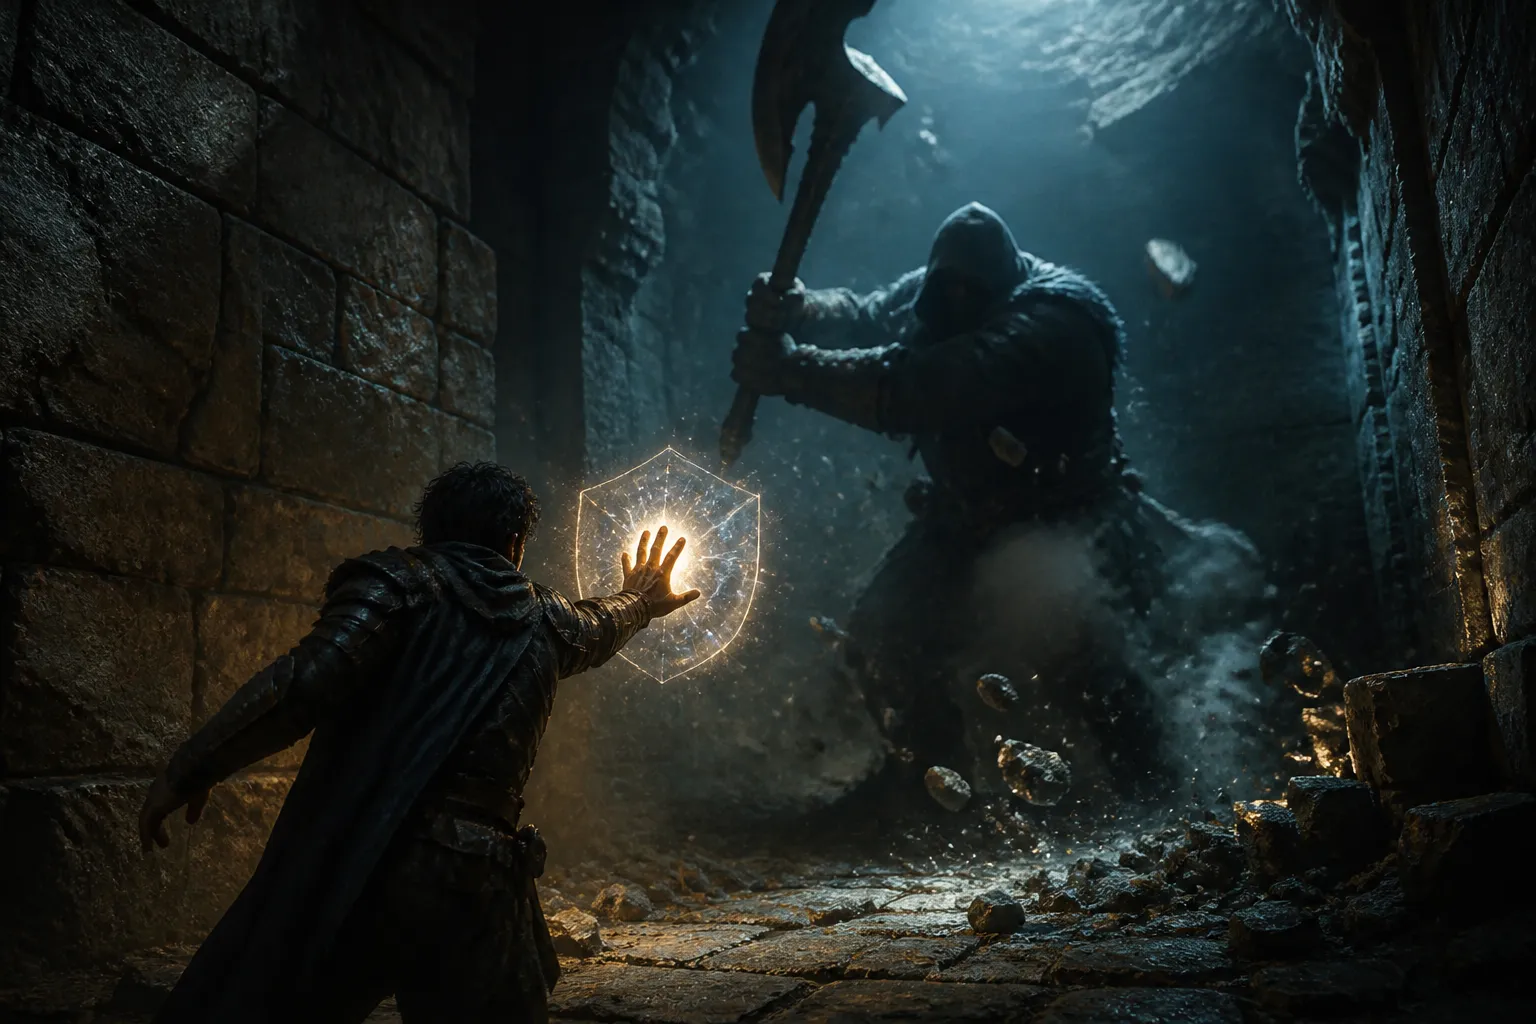
A shield is a resource that runs down
SmashWiki says shields in Super Smash Bros. cannot be held indefinitely. They shrink as time passes. Blocked attacks drain them too, and the drain grows in proportion to the shield damage the attack deals. Hold too long and the shield breaks. The user pops up, falls, and is stunned.
That is the cost of a limited shield in its plainest form. Every frame you hold it, and every hit it absorbs, brings the break closer. When the escape route closes, you are tempted to raise the shield early and keep it up. The Smash rules argue against that. Raise it late enough that it covers the hit and drop it once the hit is over.
The same page notes that Smash shields refill when not in use. If your game works the same way, a short gap between threats is worth real value. If it does not, the last charge is the only one you get. Read the item text or the meter before you commit.
Know what the shield cannot block
The sharpest warning in the sources is about grabs. In Rivals of Aether II, the Dragdown wiki says shield blocks hitboxes but cannot block grabboxes. A shield loses to a grab. SmashWiki also lists grabs and unblockable attacks among the things a shield cannot stop.
This matters most when your exit is closing. A trapped player is the easiest target for a grab, because the attacker can see the shield coming and walk through it. If the move that corners you is a grab, spending your last shield on it wastes the charge and leaves you stunned or hit. Look for another answer, such as a jump, a roll, or an attack of your own.
Salt and Sanctuary has a version of this. A community guide argues that tower shields make boss fights easier. It also says one boss has an attack that bypasses the shield, and claims only three bosses deal damage a shield cannot block more than 95% of the time. That is one author's claim, not a tested number. The page is also marked removed and incompatible with the game, so treat it as a lead to check in play.
Timing: when you can raise it, and when you can drop it
Timing rules differ by game, and they decide whether the shield helps at all. In Smash, shields can only be raised on the ground. A shield input in midair gives you an air dodge instead. If the closing attack catches you airborne, the shield button will not do what you expect.
Rivals of Aether II adds a release rule. Once a character enters shield, they must wait 7 frames after starting it, or be hit in shield, before they can release it. Seven frames is short, but it means a shield raised too early cannot be dropped at once. If you panic and raise it, you are committed for a moment. Dropping it just before a second hit lands is not possible.
Salt and Sanctuary treats shielding as a stamina matter. The guide says dropping your guard for a second or two lets stamina recover. It also says high stability reduces stamina damage. Those are sustained-block rules, not one-charge rules, but they teach the same lesson. A shield has a window, and you should plan for the end of it.
A simple order of questions
You do not need a perfect read of the whole fight. You need to answer a few questions fast, in this order.
- Can a normal dodge or roll still clear the attack? If so, keep the shield.
- Is the attack a grab or an unblockable? If so, do not spend the shield on it.
- Can you raise the shield in your current state, grounded or otherwise?
- Will you be stuck holding it longer than you want?
If the answers are no, no, yes and no, the shield is the right tool. Spend it on that hit, then use the opening to leave the trapped space. Do not stay and trade blows while the charge is still draining.
What the sources do not tell you
None of the sources describes a true single-use shield, and none gives depletion numbers for one. They do not say how to time a shield against an attack that seals an exit, either. Elden Ring boss advice from PowerPyx treats shielding as a way to counter after an enemy misses, not as a limited resource, so it only partly applies here. The advice above is built from documented rules in other games. Test it in your own game before you rely on it.
The safest practice is to spend a charge in a low-risk fight and watch what it does. Note how long it lasted, what broke it, and which attacks went through. That one test tells you more than any guide can, and it keeps the last charge for the hit that matters.
Sources

He is a house writer for GamesUnlimited. He covers co-op campaigns, controller design, and player rituals through reports from launch nights and living rooms.